Building the Documentation#
Prerequisites#
The documentation build process uses Doxygen and Sphinx along with a few extensions.
If you’re using Conda, the required software can be installed in a single line:
conda install -c conda-forge --file=arrow/ci/conda_env_sphinx.txt
Note
linuxdoc cannot be installed by Conda. It has to be installed via pip separately.
Otherwise, you’ll first need to install Doxygen yourself (for example from your distribution’s official repositories, if using Linux). Then you can install the Python-based requirements with the following command:
pip install -r arrow/docs/requirements.txt
Building#
Note
If you are building the documentation on Windows, not all sections may build properly.
These two steps are mandatory and must be executed in order.
Process the C++ API using Doxygen
pushd arrow/cpp/apidoc
doxygen
popd
Build the complete documentation using Sphinx.
Note
If you are working on the Python bindings documentation then this step requires that
pyarrowlibrary is installed in your python environment. One way to accomplish this is to follow the build instructions at Python Development and then runpip install --no-build-isolation .in arrow/python (it is best to do this in a dedicated conda/virtual environment). Add-vvto the pip command to get output of the build process.You can still build the documentation without
pyarrowlibrary installed but note that Python part of the documentation will be missing from the_build/htmlfile structure and the links to the Python documentation will get broken.pushd arrow/docs make html popd
Note
Note that building the documentation may fail if your build of pyarrow is not sufficiently comprehensive. Portions of the Python API documentation will also not build without CUDA support having been built.
After these steps are completed, the documentation is rendered in HTML
format in arrow/docs/_build/html. In particular, you can point your browser
at arrow/docs/_build/html/index.html to read the docs and review any changes
you made.
Note
If you are working on the Python documentation and are building the documentation
with pyarrow build from source on macOS Monterey, the Python section of the
documentation might not be included in the _build/html. In this case, try
installing pyarrow in non-editable mode first before running the make html
command.
pushd arrow/docs
python -m pip install ../python --quiet
make html
popd
Building with Docker#
You can use Archery to build the documentation within a Docker container.
archery docker run -v "${PWD}/docs:/build/docs" debian-docs
The final output is located under the ${PWD}/docs directory.
See also
Building a docs preview in a Pull Request#
You can build and preview the documentation within a GitHub pull request you are working on.
To do so, post the comment @github-actions crossbow submit preview-docs
to the pull request. The rendered documentation will then be available within the
GitHub Actions response, where you need to click on the Crossbow build badge:
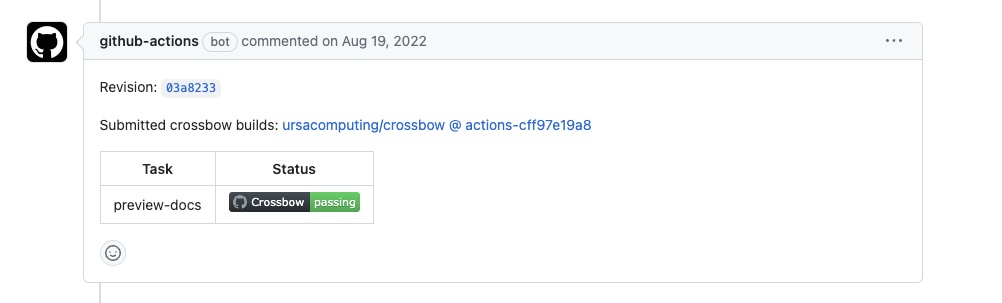
Crossbow build status#
and then in the summary of the workflow you can find the link to the Docs Preview summary at the bottom of the page:
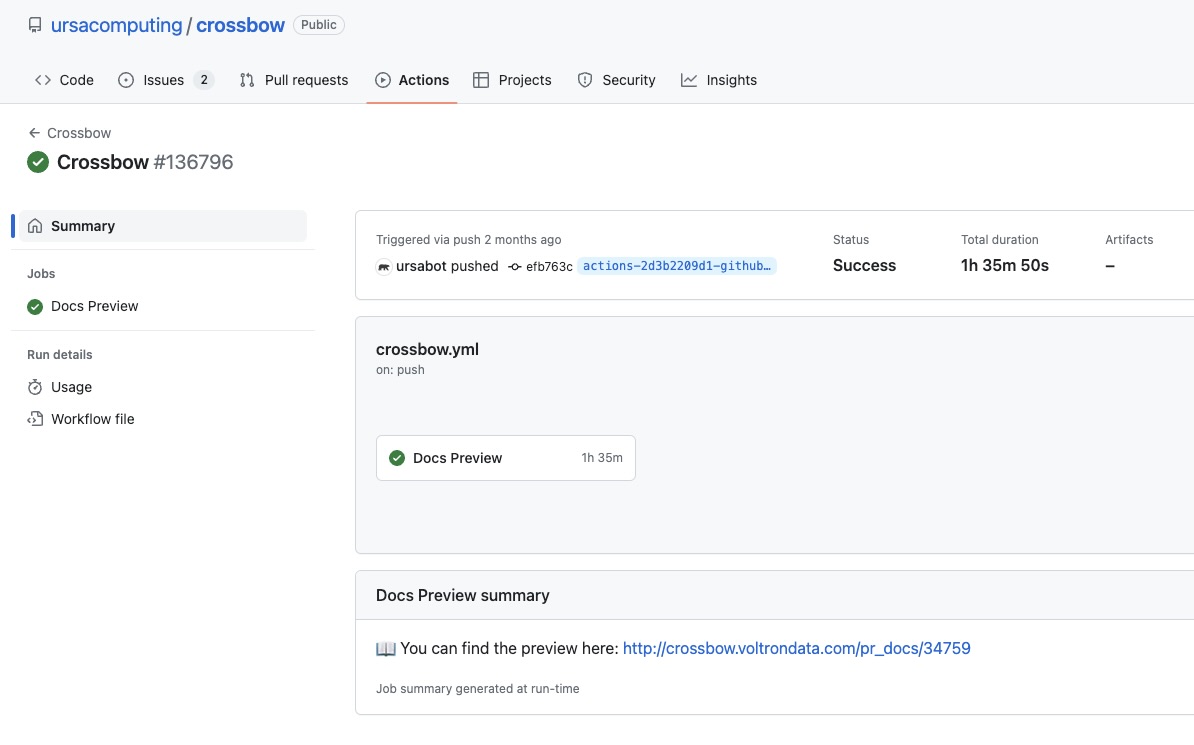
Docs Preview summary section#
Building for dev purposes#
Building subsections#
To make it easier for developers to update parts of the documentation, one can build only a subset of it. You can build:
Specifications and protocol section (
docs/source/format) with:pushd arrow/docs make format popd
Rendered HTML format can be found in
arrow/docs/_build/html/format.Development section (
docs/source/developers) with:pushd arrow/docs make dev popd
Rendered HTML format can be found in
arrow/docs/_build/html/developers.C++ section (
docs/source/cpp) with:pushd arrow/docs make cpp popd
Rendered HTML format can be found in
arrow/docs/_build/html/cpp.Python section (
docs/source/python) with:pushd arrow/docs make python popd
Rendered HTML format can be found in
arrow/docs/_build/html/python.
Note
When building only a part of the documentation the links will get broken!
For this reason building only a subset of the documentation should only be used in the initial work as it makes the building faster and easier.
To check for the correctness of the documentation overall one should
build the whole documentation with make html or use
GitHub Actions.
Building live#
You can also build the documentation (or a part of it) live. This means the changes saved will automatically trigger the documentation to be rebuilt.
pushd arrow/docs
make html-live
The same way one could use make format-live, make dev-live, make cpp-live
or make python-live to auto-build part of the documentation.
Building a single directory for dev purposes without all the pre-requisites#
You can build documentation in a single directory without needing to install all of the pre-requisites by installing sphinx, setting up a temporary index in the directory you want to build and then building that directory.
The example below shows how to do this in the arrow/docs/source/developers directory.
Install sphinx:
pip install sphinx
Navigate to the arrow/docs directory:
cd arrow/docs
Create an temporary index file temp_index.rst file in the target directory:
echo $'.. toctree::\n\t:glob:\n\n\t*' > ./source/developers/temp_index.rst
Build the docs in the target directory:
sphinx-build ./source/developers ./source/developers/_build -c ./source -D master_doc=temp_index
This builds everything in the target directory to a folder inside of it
called _build using the config file in the source directory.
Once you have verified the HTML documents, you can remove temporary index file:
rm ./source/developers/temp_index.rst